Hi folks, I found these Maserati cars on sale over Black Friday / Cyber Monday and bought a couple. I was very impressed with the way that they are built. They are small, so will do well with little ones, but they are also remote control.
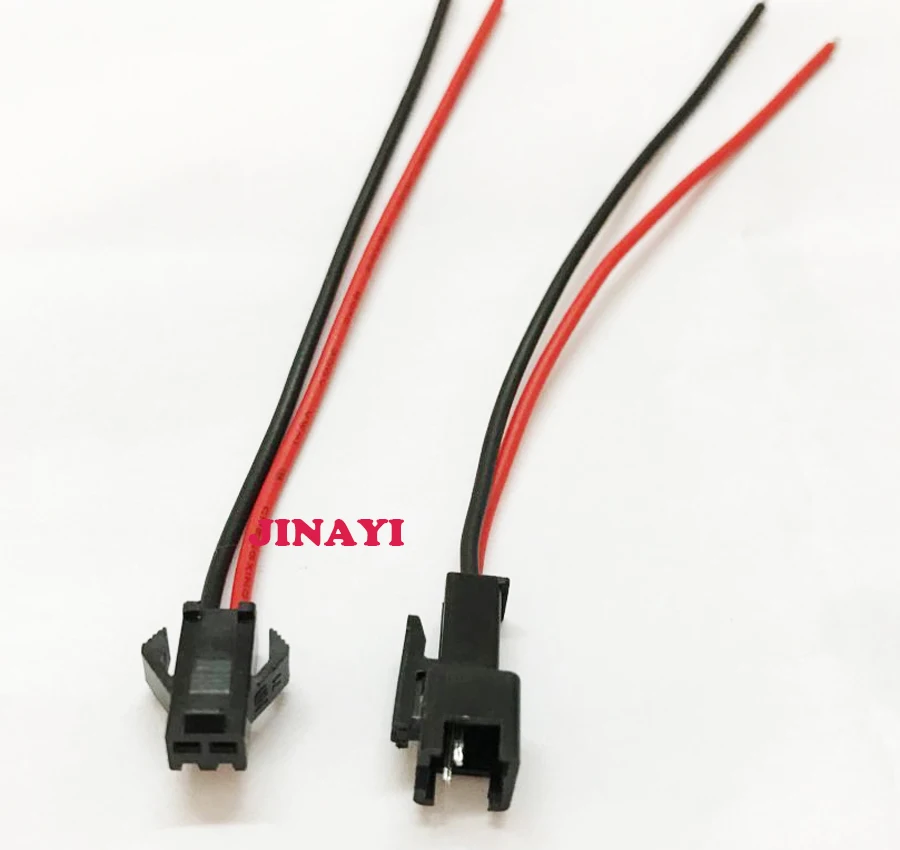
I went to rewire one today and they are the easiest car to rewire - you dont need to cut anything! Just buy a connector and the cables from the accelerator connect under the hood. The cable from the accelerator pedal runs up to the engine compartment and there is a connector that is easily accessible.
The thing I liked the most about this car was that it already had built into it a graduated acceleration. I thought the battery was dead at first because I pushed the button and it slowly came up to speed. This cuts down the whiplash that some of our new drivers look like they are getting when they first start.
The car is also controlled by remote control and we found out today that the remote control will work WHILE the button is usable. This means that while the kiddo is pushing the button to make the car go, dad or mom is steering via remote. It was pretty awesome.
I know these are not the cheapest cars on the market, but I am leaning this way for all of our really little drivers.
We at GoBabyGo Louisville (Bellarmine University) also built with this car, and a few others with remotes. We were pleasantly surprised to see that the remotes still worked, and this solved some of the steering concerns discussed in another thread. We found an Audi, a BMW and one other that is eluding me right now.
Hey All! Does any one have a link to the connector to purchase and a little more info with how that interfaces with the Big Red switch to modify the Maserati? Several of the regular models (McQueen, SpongeBob, Frozen) cars are out of stock and we are looking for new ones. Thanks!
We just cut and splice the wires. (Soldered, with heat shrink tubing.) They are easy to access. Even if you could get the connector, you would still have to do a similar splice into the cable of the Big Red Button switch, correct? We put jacks in both the front and rear of the car to plug switches into.
Two more Maseratis, almost twins, ready for pickup Saturday. The child requesting the car on the right needed some additional modifications to the steering.
Doug,
We are looking to modify 10 plus Maserati from Amazon in central MO. This is our first time to host a GBG event. I purchased a Costzon Maserati to test modify for $140 after reading your post. It is similar to the KidTrax version but has a few minor differences. The parent remote, MP3 player, blue tooth capable, key, slow start, horn, sound effects, and led lights are impressive for the cost of this vehicle.
I noticed in the image above it does not seem to have the big red button steering wheel mount used on most modifications. I was considering trying a 60mm arcade button due to the existing buttons for the horn and music on spokes of the steering wheel. Could you please provide some insight on how the child activated your modifications? Also, there are some broken links in the Maserati build instructions hosted at the Mercer website. Any way I can get access to those instructions?
Did you use a toggle kill switch at rear of the vehicle even though the remote has a stop button for the parent?
Did you disable the powered doors? Or just lock them closed? Any other insight as we make the modifications this week?
Thanks for sharing your modifications.
For the Maseratis we have placed so far, we also used the smaller buttons. Usually an Ablenet Specs which has a 2” base. That was secured to the side of the steering wheel rim with Velcro. Of course, that is child dependent. We modify our cars with two jacks (one on the front and one in the rear) so we can plug in any switch the child needs when they come for the car. That’s why the switches don’t appear in some of my pictures.
If I knew a child required something as large as the Big Red Button I would be inclined to add a mounting bar (e.g. a piece of aluminum stock) across the steering wheel using standoffs and screws through the rim so it cleared the switches and center piece. Then attach the Big Red Button to that. You can do that without dismantling the steering wheel.
I don’t know how to get to anything that’s missing from the Mercer site. Besides, that’s the KidTrax version and there will be differences from what you and I are doing. Several steps in there that don’t apply to the Costzon.
We did not add a toggle switch. With the remote, we felt we did not need that.
We just suggest the parents leave the doors locked. We do show them how the doors work.
Since you are doing an event, you will have volunteers there who have not built one of these before. Here are some things that might confuse them:
a) The grease for the wheels is rather casually tossed in the bottom of the box the car comes in. It’s easy to overlook and discard with the packing material. Also they give you enough grease to make dozens of cars. Don’t let them put too much on the axles.
b) The manufacturer’s instructions don’t mention installing the battery cover. They have to do that.
c) Screws for battery clamp are in plastic bag with the keys. Screws for battery compartment cover are taped to the cover.
d) It is a whole lot easier to put the wheels on if you do that before putting in the windshield. (I think that’s the reverse of the manufacturer’s instructions.)
e) The wheels can be a little tricky. When you push the wheel on, you have to bounce it up and down a few times before it snaps, not just “push harder”. The wheel releases if needed by a “pushbutton” that is in the center of the wheel. Pushing this in and out also helps the wheel snap in place.
f) Straighten the LEDs before putting the interior wheel cover on. Otherwise they may not go through the holes.
g) The interior wheel cover must align with the wheel. There is a black arrow on the wheel and a silver arrow on the inside cover (which is very hard to see). Those arrows have to align or the LEDs will not go through the holes in the cover.
h) If the tailpipes don’t press in easily, you have them rotated wrong. (If they are rotated wrong, the inside will latch but the outside will not.)
If you are going to add a frame like ours, let me know and I can send you the dimensions and mounting points.
I don’t recall how long it takes to get these.
The lower part of the harness is attached by 1/4" roundhead bolts to the car body right at the edge of the seat…
We have never used a harness like the one in your link. Looks like it is well padded. Probably you would need to check that it doesn’t put the child in an uncomfortable position in the car.
Yes, I think this remote is the best of any remote we have placed.
Please let me know if you don’t get the WORD document, I will then try something else.
Best regards.
– Doug
Doug,
I got your PDF build notes. They were a big help as we work on the prototype.
In the reply post you mention installing two “jacks”. Is this for the ablenet.com style buttons with an 3.5mm/.125" audio male plug? Was your jack like this? A female audio jack that can have wires soldered to the plug.
Hi! Would I be able to get the instructions for the frame dimensions? I am planning to modify my first car very soon and am working to determine what the best set up for support is and I like what I see in the pictures above, I have selected the Maserati. Any other help would be greatly appreciated as well.
Here is a .pdf with the frame dimensions (p3). These are not complete build instructions, more like “notes to myself”. Hope they are helpful. If I can help in any other way, please let me know.
Hi Mitch,
Sorry, I didn’t spot your inquiry until just tonight. No, we use Switchcraft 35PM1 3.5MM jacks. I will try to get a picture tomorrow, but they have a wider mounting surface than the ones above. I order them in bulk from markertek.com which has a good price and good service. They will be more expensive than the ones above (about $1.50 ea.) but I think worth it.
Best regards,
– Doug
Hi Mitch,
Still cannot figure out why I did not get a notification about your question. But there is a picture of the Switchcraft 35PM1 on page 7 (last page) of the .pdf I sent you. Notice how wide the surface is that meets the car body (compared to the diameter of the barrel).
– Doug


