My STEM class is currently working on a Razor 900 for a young man with cerebral palsy. He has mobility on his left side. We are creating a joystick control due to the difficulty on turning even a modified steering wheel. We have built several devices from Wild Things already, but this will be our first device with Servo Steering. My class has researched two other builds that involved steering,
We wanted to see if anyone here had any other suggestions. We are fine with the coding and electronics, just looking for a way to make a durable steering setup. Does anyone have any tips before we get started on this last part of this build?
Thank you!
If we want to use motors for steering, we usually lean towards the midwheel drive type (eg Wild Thing). But we’ve done rear wheel drive Jeeps before too. We add 360 pivoting casters at front, that add just enough height to raise OEM front wheels off ground. Then usually find some inner tubes similar in size to OEM rear wheels … split them & stretch onto/over the OEM rear wheels to add extra traction. Is that kinda what you were asking?
We’ve usually used Wild Things for our builds. This vehicle is strictly going to be for outside use, and I am looking for Servo steering setup ideas to incorporate into a larger vehicle like the RZR 900. My build team did look at several examples online that incorporated front casters, but we were worried about how they would perform on the rough terrain. As of right now, they have drawn up some preliminary plans for either: 1. leaving the steering shaft in place and using a motor driven chain drive with stop switches to control the turn, or 2. using a high torque servo to mount to the steering control bar underneath the vehicle. We took apart and inspected the gearbox used on the newer remote operated ride on vehicles as well. Just seeing if anyone had any other ideas we hadn’t thought of.
One of the fathers of my students builds custom cars and had made the suggestion that we use a 12 volt linear actuator. We only need about 3 inches of travel from side to side.
Just wanted to share the direction we went with this vehicle in case anyone was modifying a similar one. The steering was accomplished using a linear actuator. Little note, most 12 volt actuators travel at 10mm per second. This makes for a very slow turn rate. My kids at school originally chose this actuator in order to control quick turns that may result in a rollover. We were not happy with the 4 seconds it took to turn from one side to the other, so we changed it out for one that turns 50mm per second. https://www.amazon.com/dp/B01N1KQLWS/?coliid=I39MFZLWILO8HD&colid=2YAXKBZU0M3EB&psc=1&ref_=lv_ov_lig_dp_it
We used Spark motor controllers to power the drive wheels and the actuator. We have used FRC team 1939’s write ups in the past, so we duplicated their wiring diagram and code. The only changes we made were to change pins since we used an Uno instead of a pro Trinket, and we disconnected the speed- potentiometer variable from the mapped speeds for the actuator. We did not want steering to slow down when the drive speed was adjusted.
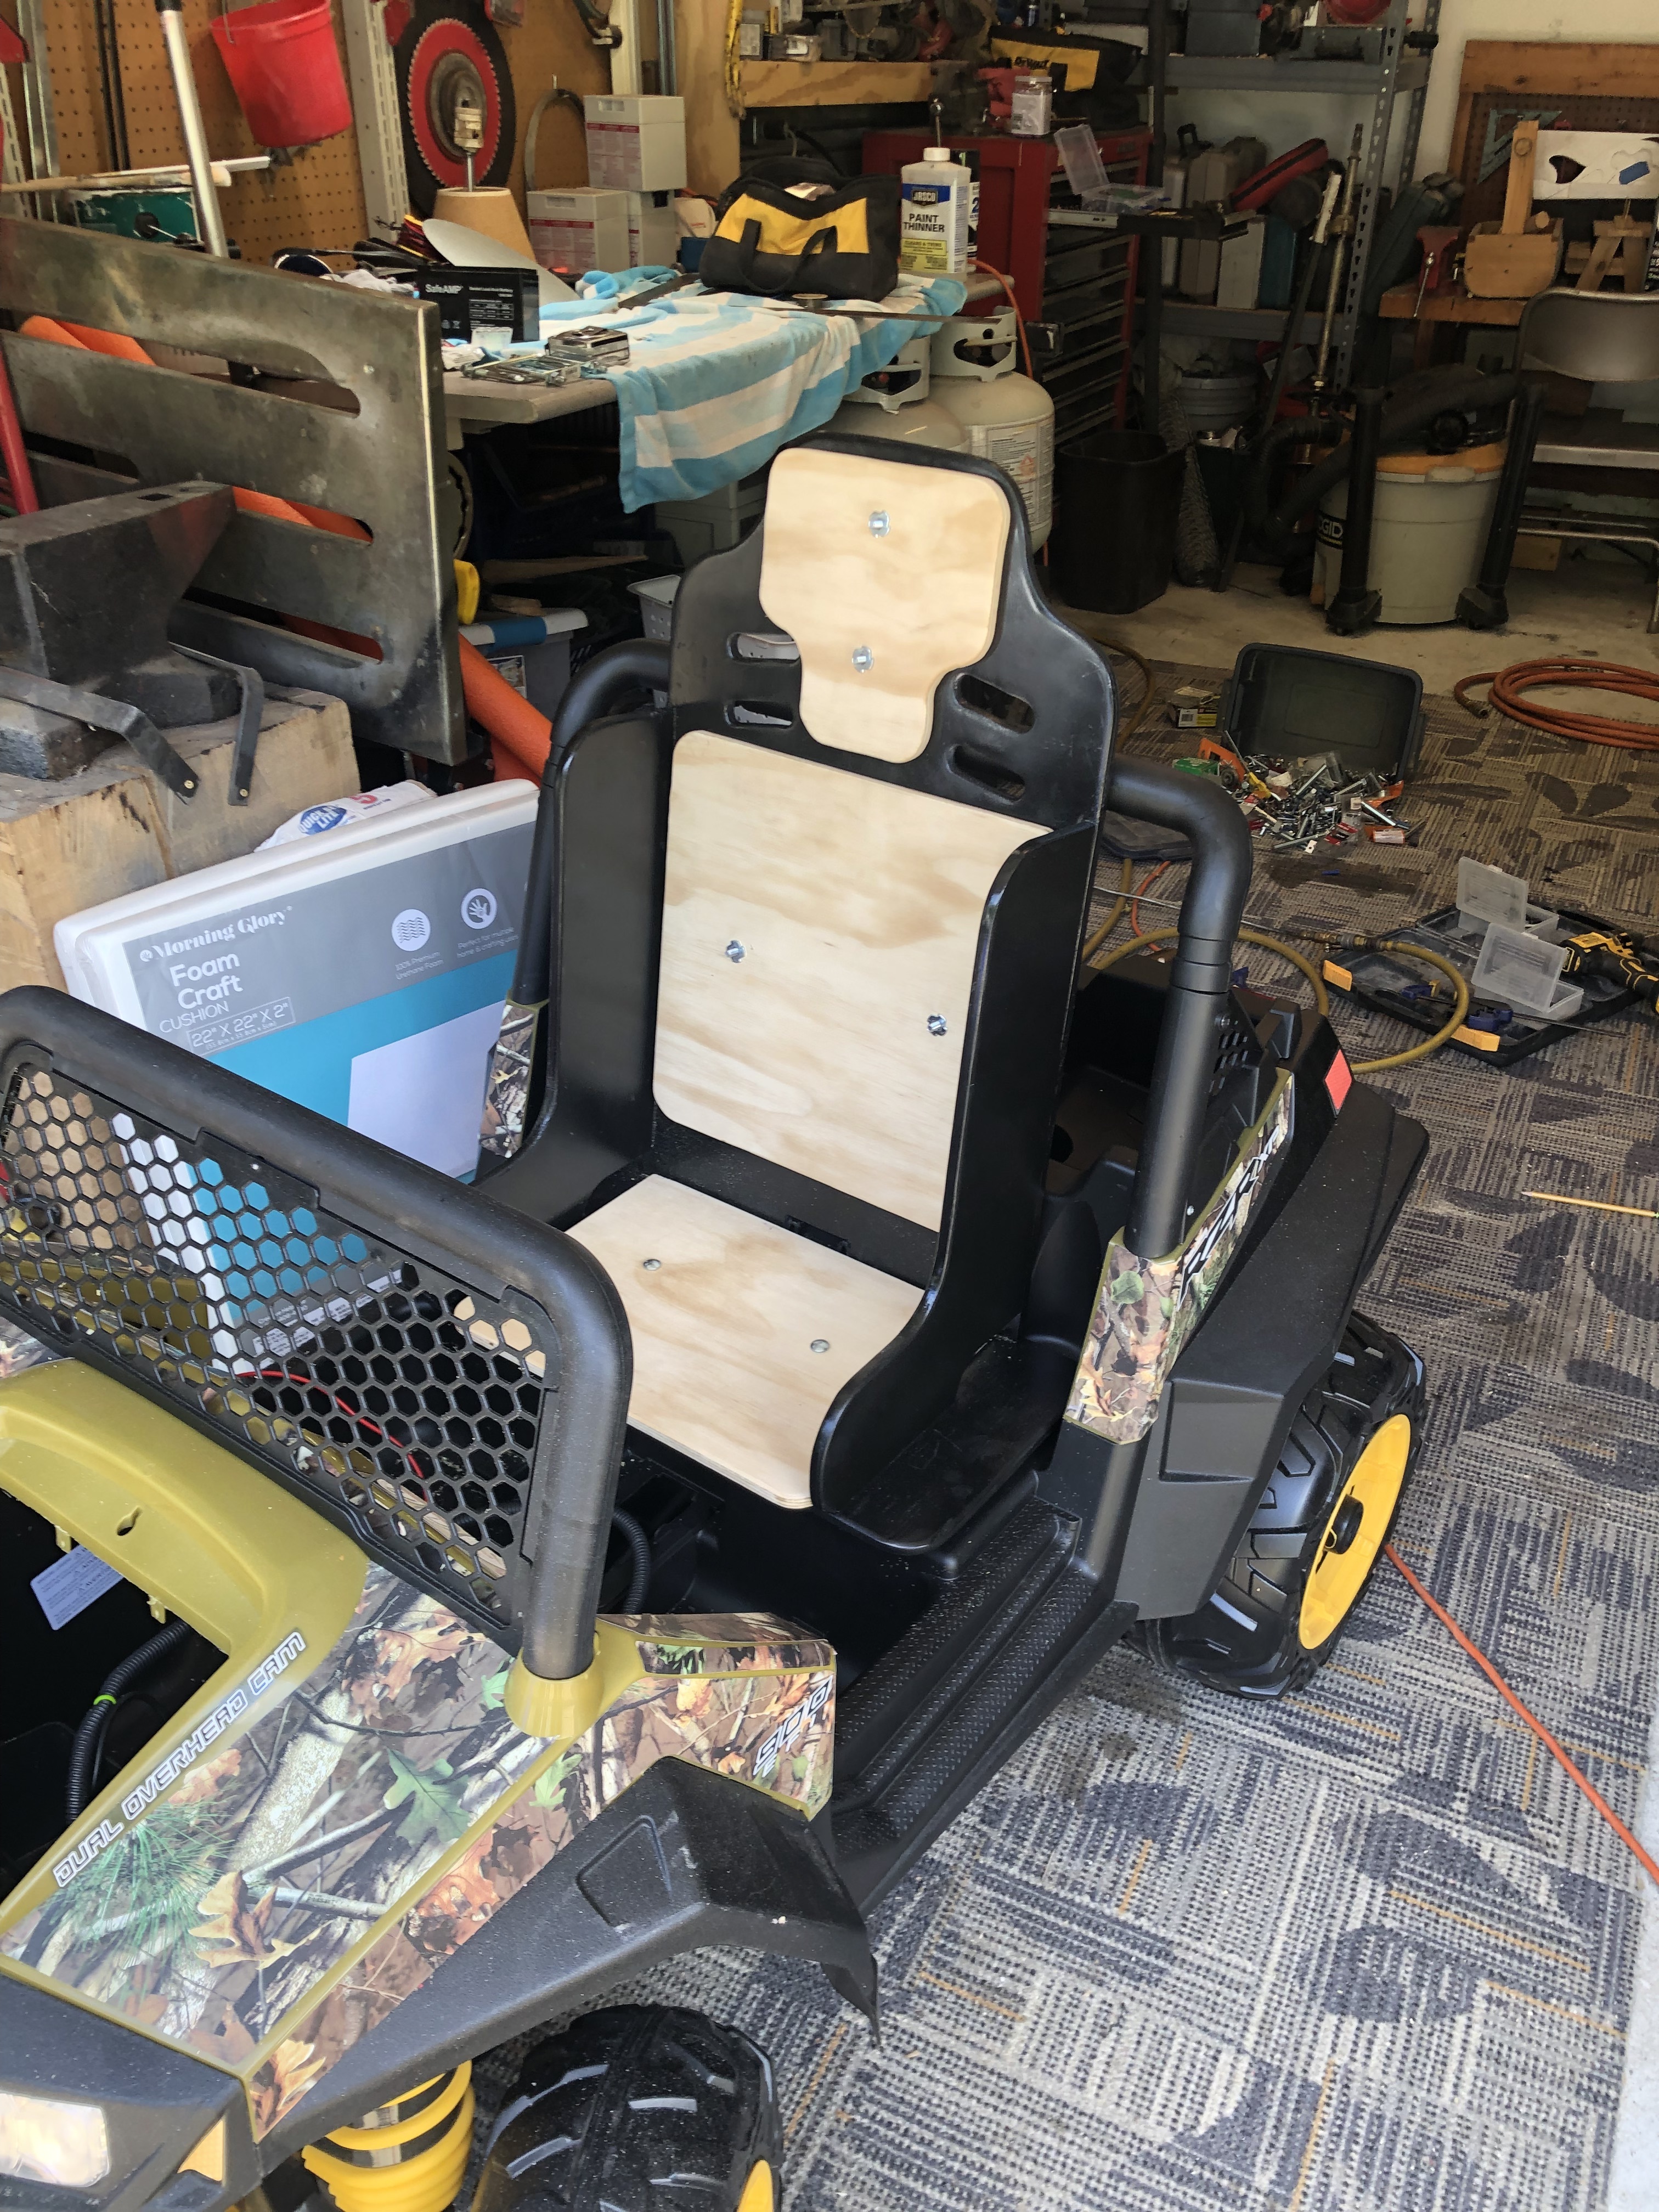
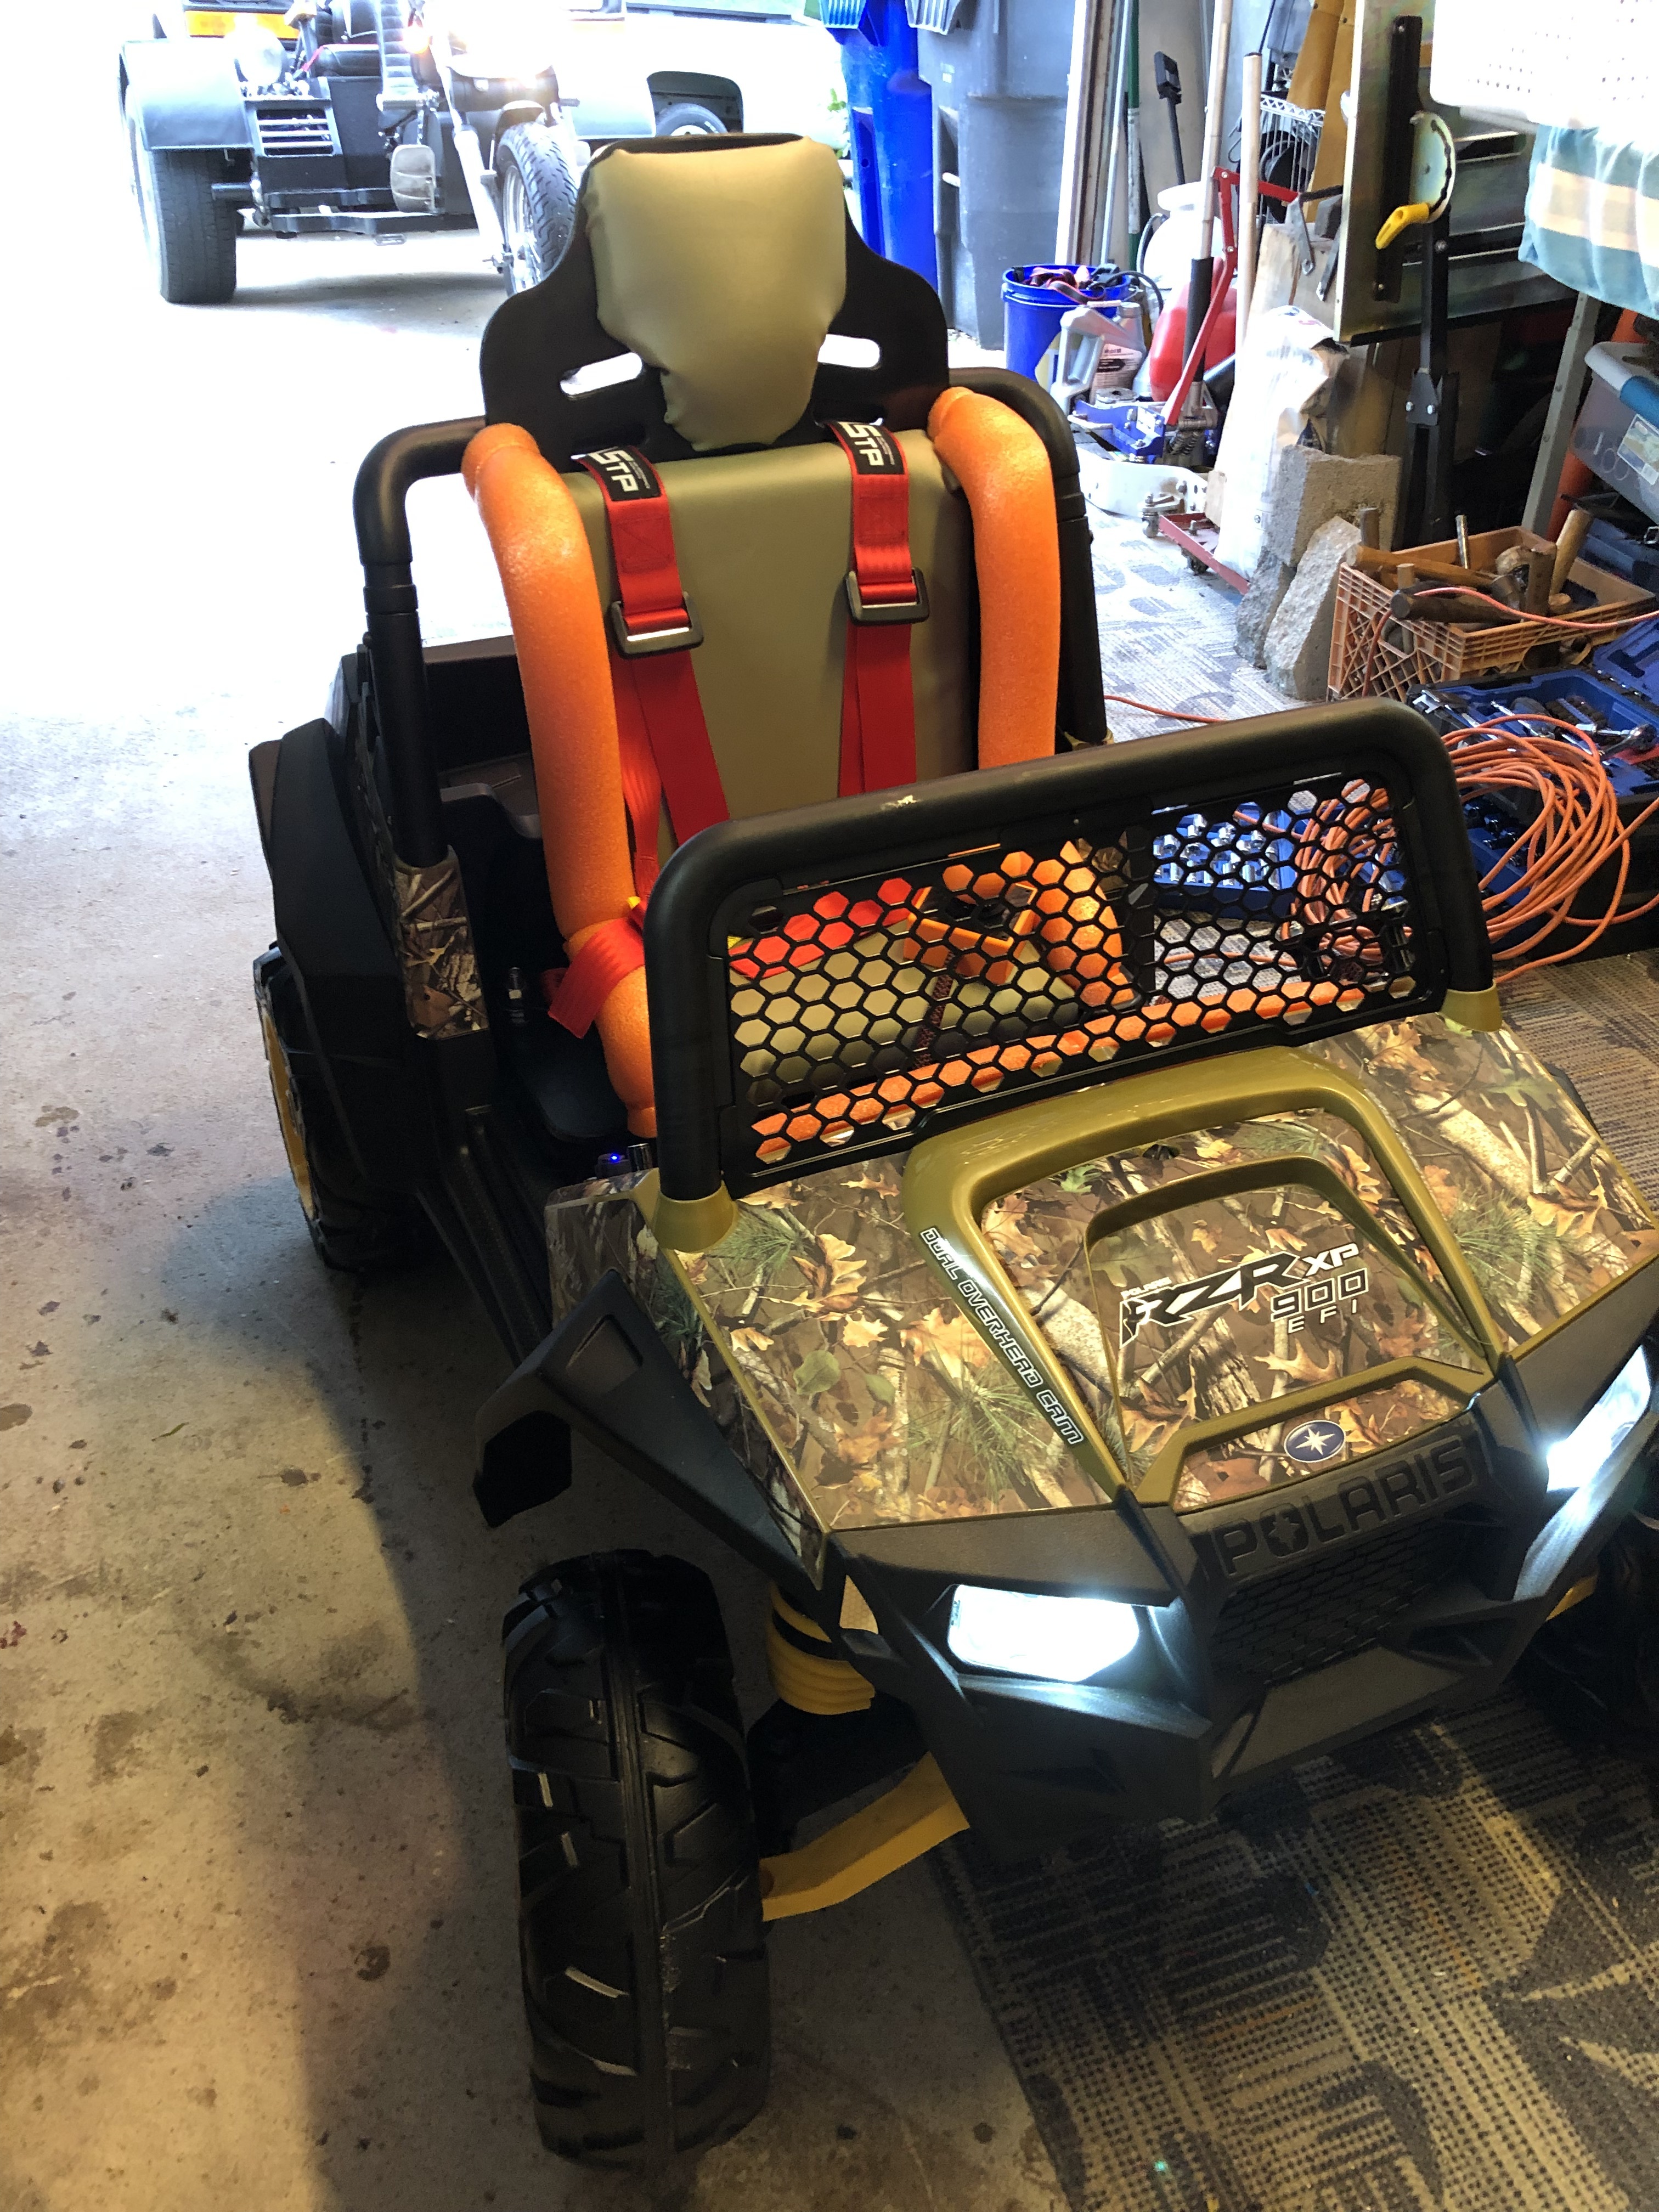
The seat was made from plywood with vinyl covered padding. The 4 point seatbelt is just a cheap one designed for dune buggies. The joystick housing and cord wrap were designed by my fifth graders in fusion. The dash was cut out of the vehicle and the steering wheel was removed. This allows more leg room for Wyatt as he grows.
This will be used exclusively outside, but stored in a garage, so the joystick box, and the electronics were sealed.
We also added head lights and taillights to make it a little more visible.